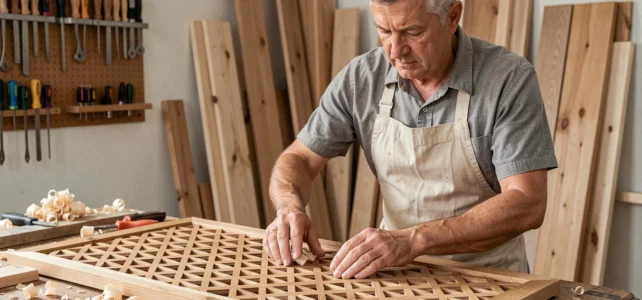
The moucharabieh is a lattice of openwork wood whose geometry relies on the assembly of small turned or cut pieces, fitted together without nails or screws in the traditional version. Reproducing this principle at home requires less technical skill than one might think, provided that the pattern is simplified and a suitable assembly method is chosen based on the tools available in a hobbyist workshop.
Router and template: the duo that replaces the wood lathe
In artisanal manufacturing in the Middle East, each piece of the moucharabieh is individually turned on a lathe and then assembled by hand by a carpenter. This process requires a long-acquired know-how and specialized tools.
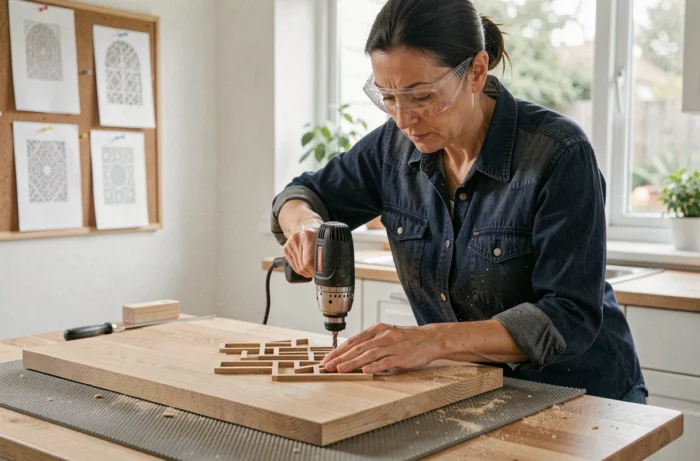
For a DIY enthusiast, the router equipped with a template offers a reliable shortcut. It allows for the creation of regular grooves in strips, which then fit together to form the openwork frame. The template, a simple plywood plate drilled at the intervals of the chosen pattern, ensures the repeatability of cuts from one strip to another.
The scroll saw completes the equipment for curved patterns. On hardwoods (beech, oak), the blade should be fine and the cutting speed moderate to avoid splintering at the corners. If you plan to make a wooden moucharabieh with straight geometric patterns, the router alone is sufficient in most cases.
Choosing the wood species for a durable moucharabieh
Not all wood species are suitable for an openwork lattice where the pieces are thin and subjected to mechanical stresses on small sections.
- Beech is the best compromise for indoor use: tight grain, good machining properties, affordable price. It takes stain well if you want a darker finish.
- Oak offers superior strength and pronounced grain, but it is more difficult to work with a scroll saw due to its hardness.
- MDF (medium density fiberboard) remains an option for a first attempt or purely decorative panel. Laser cutting or jigsaws produce clean edges, but the mechanical strength is significantly lower than that of solid wood.
- Softwoods (pine, fir) should be avoided: their long grain easily splinters during machining of small pieces, and knots weaken the narrow sections of the pattern.
Assembling a moucharabieh panel: tenon, groove or glue
The choice of assembly method depends on the size of the panel and its intended use. A decorative wall element of less than one square meter does not experience the same stresses as a self-supporting room divider.
Assembly with cross grooves
This is the most accessible technique. Two series of perpendicular slats each receive a groove halfway through the wood, at regular intervals. They are fitted together at right angles to form a grid. The depth of the groove corresponds to half the thickness of the slat.
The regularity of the grooves determines the strength of the entire panel. A half-millimeter gap accumulates across the width and produces visible warping. The router template, set with mechanical stops, eliminates this risk.
Gluing and reinforcement with a frame
A peripheral frame made of solid wood stiffens the whole and facilitates attachment to the wall or in an opening. The lattice is glued (vinyl glue D3 for indoor use) and then inserted into a groove machined in the frame. This structure follows the principle of glazed doors, with the glazing replaced by the openwork panel.
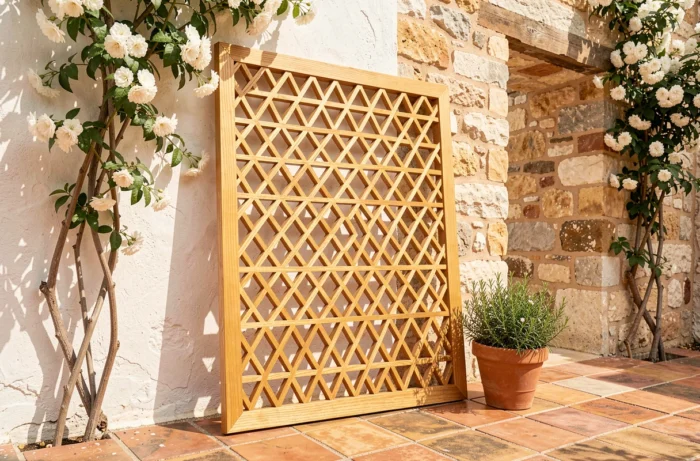
Moucharabieh used as a guardrail: the NF P 01-012 standard to know
Installing a moucharabieh at the edge of a mezzanine or along a staircase is no longer just a matter of decoration. The revised version of the NF P 01-012 standard, published on November 22, 2024, extends its scope to screens, partitions, and assemblies as long as they serve as protection against falls.
Specifically, a wooden moucharabieh placed at the edge of an opening must meet several functional criteria: minimum regulatory height, impossibility of climbing (no usable foothold in the pattern), continuity of the panel without gaps exceeding the normative limit, and mechanical resistance over time.
A purely decorative lattice does not meet these requirements without adaptation. The openings in the pattern must be sized to prevent a child from passing through, and the structure must support a horizontal load applied at the top. However, a moucharabieh placed as a floor room divider, without elevation, is not subject to this standard.
Finishing and light play: taking advantage of the openwork pattern
The moucharabieh derives much of its aesthetic effect from the light that passes through its openings. The orientation of the panel relative to the main light source (window, spotlight) radically changes the rendering.
A panel placed between a window and the living space casts geometric shadows on the floor and walls. The finer the pattern and the smaller the openings, the more detailed the shadows are. Backlighting with LED strips, fixed to the rear frame, produces a similar effect in the evening.
For wood finishing, a clear hard oil protects without masking the grain and without creating a glossy film that would alter the play of shadows. Satin varnish should be avoided on openwork patterns: it creates thickness in the corners of the cuts and yellows over time due to light exposure.
Sanding with 180-grit paper before oiling is sufficient for a clean finish. The inner edges of the cuts, which are difficult to access, can be sanded with paper folded into a triangle or a small abrasive cylinder mounted on a drill.
The homemade moucharabieh remains a demanding project in terms of cutting precision, but accessible with common tools. The critical point is neither the pattern nor the wood species: it is the rigor of the template that determines whether the final panel will be a successful decorative element or a rough assembly.